I am so excited to be back on the blog sharing some of my makes with New November release from Magengo Designs, You can check the whole new release and past ones also here https://www.etsy.com/shop/Magengo
I have made a Christmas tags today and I am loving it. I have kick started my christmas tags and card making for this year and these are first ones. Its that time of the year for Tracey's 25-days-of-christmas-tags-2020 I am glad to participate for the first time here, I am inspired by Izzy Scrap's tag using Uniko's In the Forest stencil and the shape of the tag from Day 7 of the event.
Here's my tag,
I took a card base of 3*4 inches and did some stenciling using Peacock feathers distress inks and Uniko " IN THE FOREST" stencil,I used the same shade for coloring my background lightly.
Next I colored images in Copic Markers, I fussy cut after that.
I adhered all images and sentiment using clear glue and double sided tape.Lastly I embellished my tag with some silver 2D stars and eyelet with ribbon.
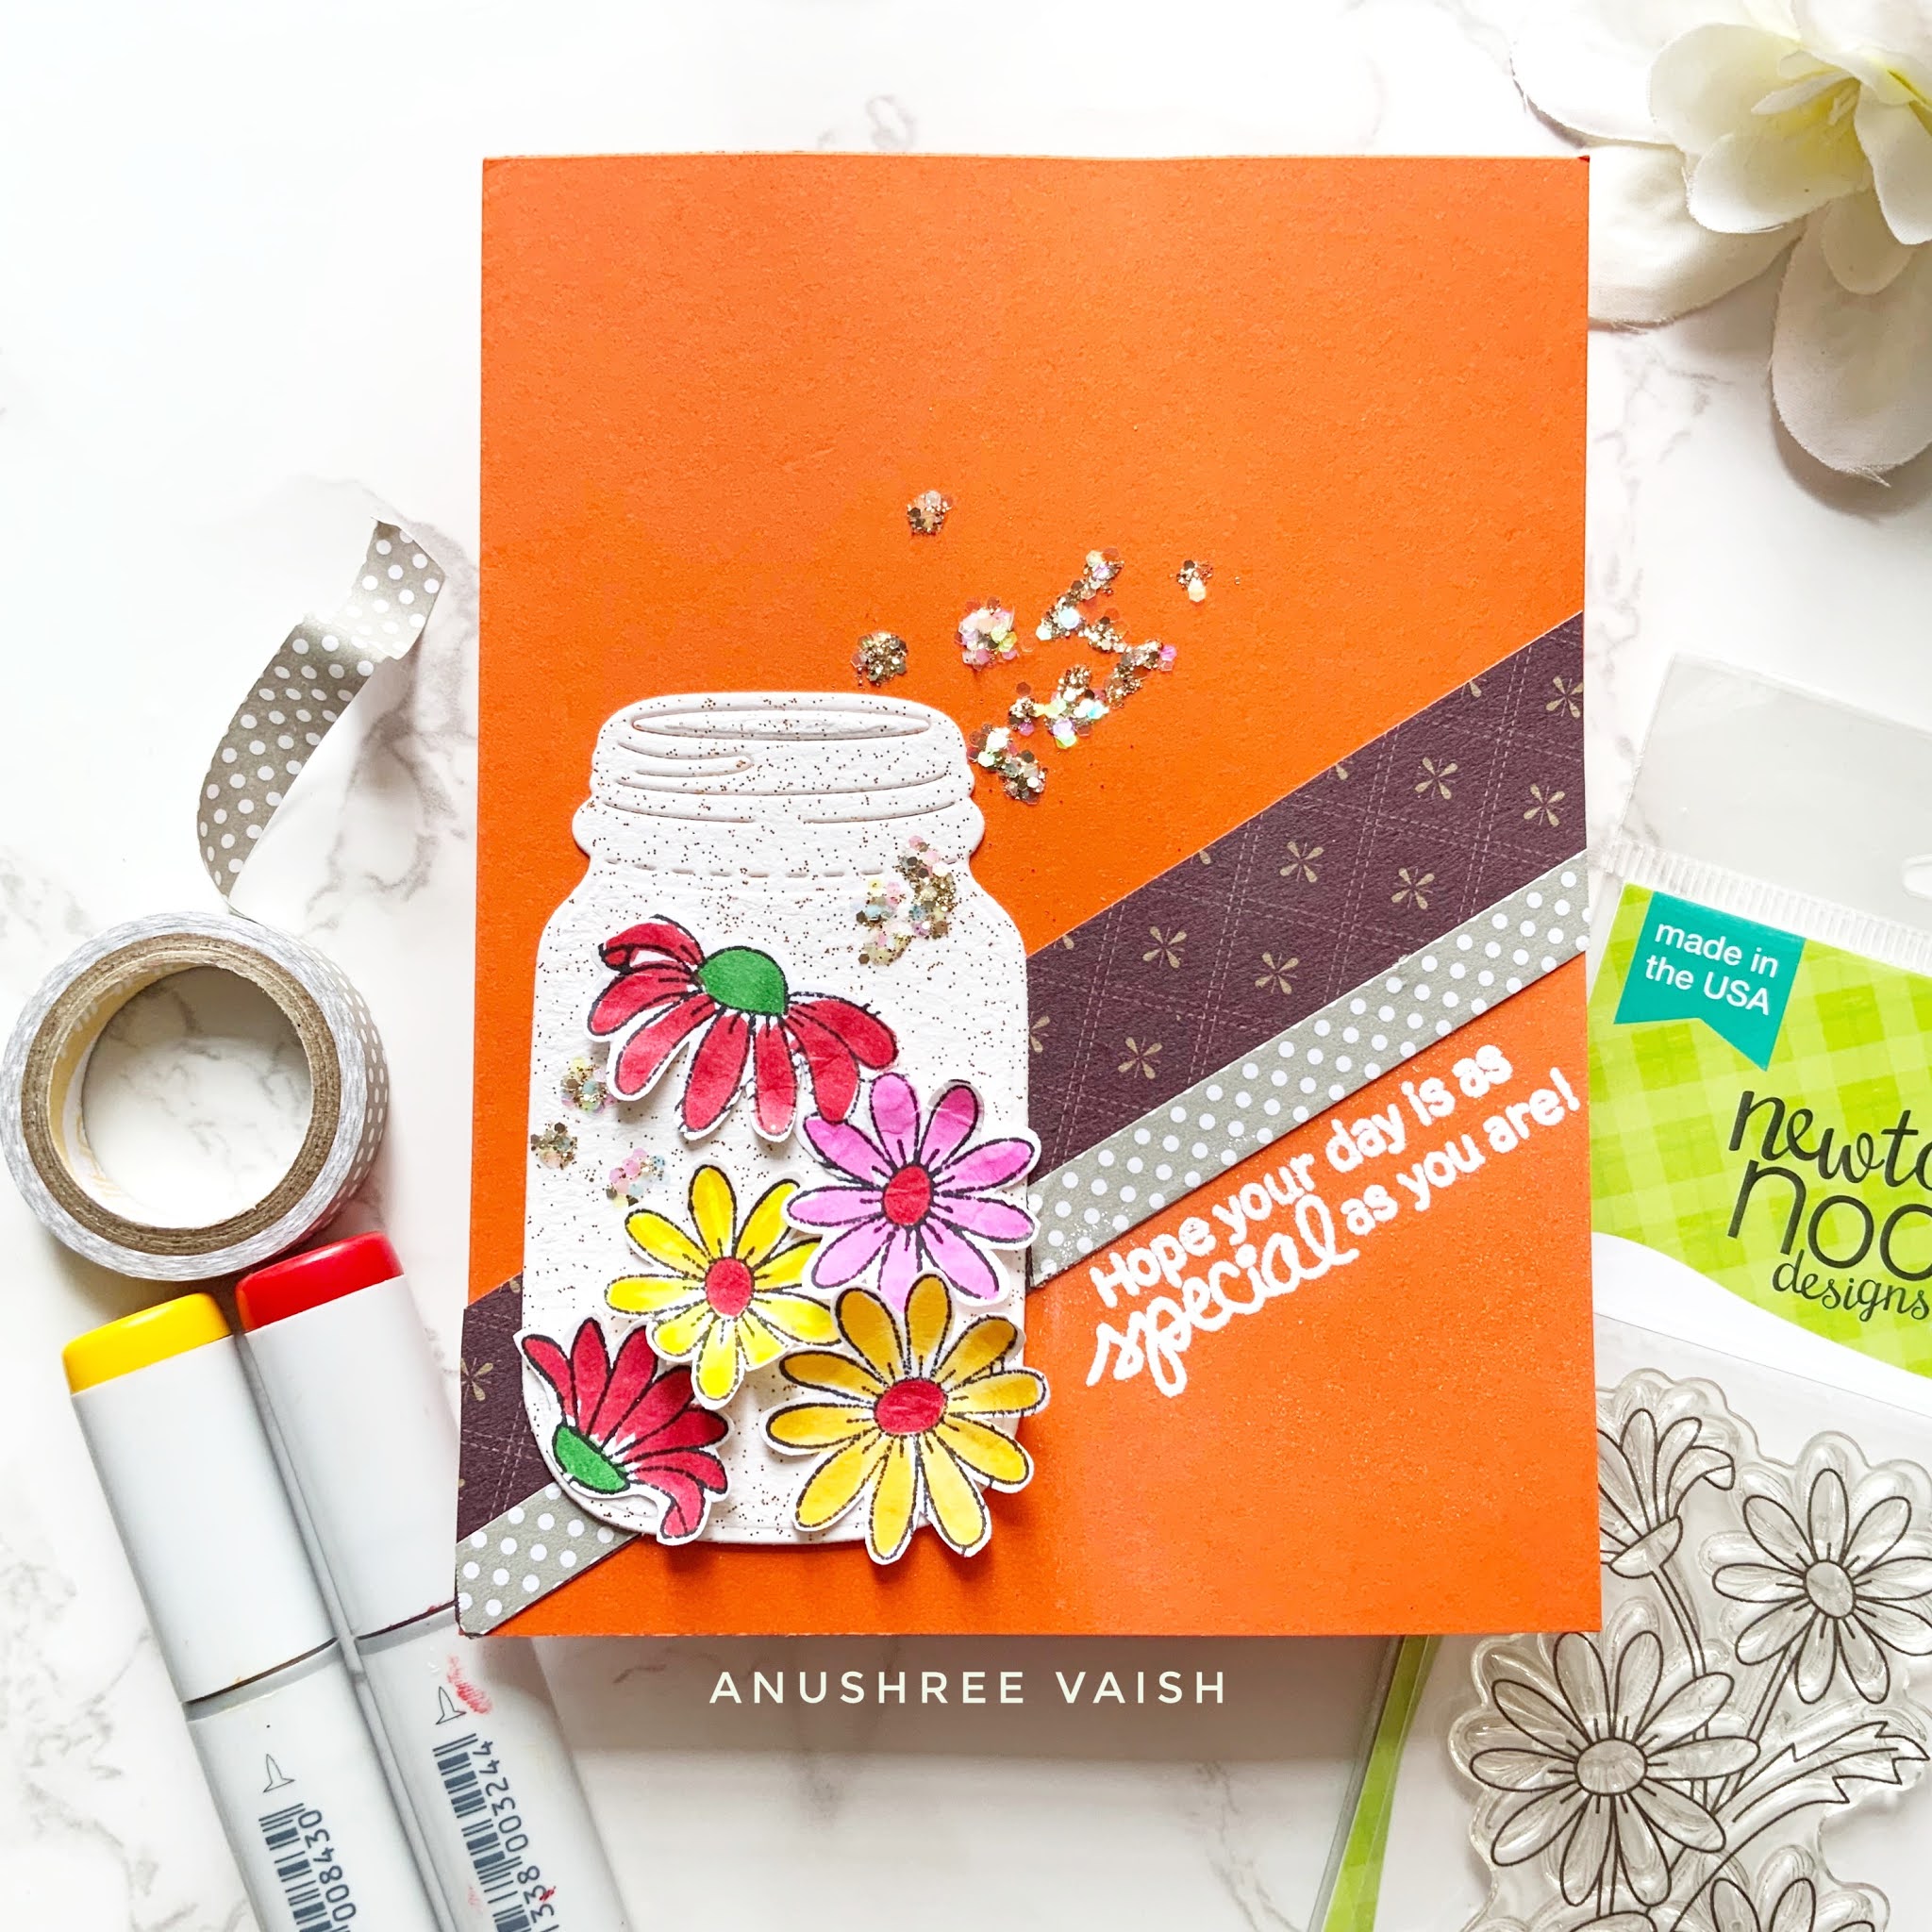
How about having some daisies in a jar...I tried something offbeat with my Dainty Daisies stamp set from Newton's Nook designs.
I used an orange card base and adhered some pattern paper and washi tape diagonally.
Next I diecut a jar and adhered that on diagonal paper.
I stamped the flowers on a separate card stock and colored them using Copic Markers. Next I fussy cut them and tried shaping them a bit on embossing pad and ball tool.
Sentiment is heat embossed in Bright white powder from WOW! Embossing powders.Kastly I added some Champagne Confetti Vial over the jar to add some interest to my card.
Halloween is just around the corner,though we not celebrating it the same way as last years due to pandemic but I thought of gifting few goodies to my family along with this card this year on Halloween.
I have used Sugarpea Designs " BEWITCHED" stamp set,what a lovely set, I love these cute witches.
I started with a grey base card stock and used a black patterned washi tape on left side of it.Next I took a rectangular diecut and masked top right side with a circle.
I used distress inks to color the background and next I splattered some water and did heat embossing in WOW Gold powder.
(Do you know we can use water also for embossing,absolutely YES...just that powder will take little longer to melt,but do try this technique to get some cool effects)
I stamped the images on a separate card stock and colored them in Copics.All are adhered as shown using clear glue or double sided tape.
I heat embossed the sentiment in WOW Black powder,and TA-DAA I am done with my card.
I have a cute card today using my Create A smile "From My Nest" stamp set.
To make my card, I have used a blue card base and heat embossed leaves and sentiment in the background using WOW Bright white superfine powder.
Next I topped up the base with some strips of Kraft card stock and heat embossed pattern paper. I created this pattern paper on pink cardstock using a small heart stamp.
I stamped few images from From my Nest stamp set, colored them in copics and adhered using double sided tape.
I am back on the blog with some new inspiration. We all know how awesome Tubby Craft stamps , stencils and inks work for card making...Since I am majorly into making cards, first thought seeing all that stuff is always making a card.
I have tried something new today and super excited to show you all through a video tutorial.
I have made a magnetic photo frame...That's cool Absolutely
Sharing some pictures of the frame and material used
I have used
Moroccan Tiles stencil
Beary Wishes stamp set
Sapphire Blue Dye ink
Here is video tutorial
Hope you enjoyed the making and got inspired to try something new with Tubby Craft products.