I am so glad to start my March month with beautiful supplies from Craftyscrappers .Today I have a very unique technique to showcase with Stencils.The Technique is known as "Rotating Stencil Technique".
I have made two lovely cards with this technique as my background.Let me show you both cards with the material used and procedure involved.
1. Get Well Soon card
Material used:
Green Cardstock
Craftyscrappers Stencil(Geometrical Patterns)
Distress inks,Green
Pigment Ink,White
Craftyscrappers Shimmer Paste(Gold)
Zig Color pens
Craftyscrappers Stamp set( Feel Better Friend)
Premium White cardstock By Craftyscrappers
Brown Pattern paper
Double sided tape
Procedure
Take Green Card stock and fix the stencil on it with the help of any adhesive tapes.Start Distressing the pattern with green ink,I have used the stencil vertically. Move the stencil a little on its right after finishing the first distressing,start distressing again with Green ink.Move the stencil a little more on right and now distress with white pigment ink.Lastly move the stencil little bit left and cover the area with Gold Shimmer paste.My background pattern is ready.
I have stamped images on Craftyscrappers white premium Cardstock with the help of Archival ink.I colored them and then Fussy cut it.Lastly attach everything as shown with the help of double sided tape.
2. Floral card
Material used
Craftscrappers White Premium Card stock
Craftyscrappers stencil Geometrical patterns
Craftyscrappers stencil Build a flower
Craftyscrappers Shimmer paste(Lilac,Splash and Sonoma)
Mdf (all the best)
Enamel accents
Distress ink,Pink and yellow
Green washi tape
Double sided tape
Procedure
I have used the same rotating technique for this card as well.This time I kept the stencil(Geometrical patterns) horizontal and rotated 90 degrees' and distressed with different ink.On one side of the card I attached Washi tape.
Then I took white card stock, With shimmer paste I made the design on it and the fussy cut it after it dried.Pictures will make the procedure more clear
Lastly I attached everything with double sided tape and embellished with some pollens and leaves from my stash.I have also used Enamel accents to make cute enamel dots.Since March month also relates to Exams for all kids so I wanted to send best wishes to all kids with this lovely colorful card.Sharing few more pictures of the card
I enjoyed making both these cards with a beautiful array of colors.Hope you have liked the cards too.
Today I have made a beautiful love card keeping Valentine's Day in mind .This card is super cool and easy and trust me its beautiful too.Let me share a picture of the card first.
Material Used:
I have used Hearts stencil by Craftyscrappers along with Shimmer paint Dried lavender.The stamp set used is JUST A NOTE.
I have explained the whole procedure of its making in my video tutorial.Do watch and leave love.
Today I have a Mixed media layout to inspire you completely.
For this layout I have used Color splash stencil and Distress circle stencil from Craftyscrappers.I used Shimmer paste,Sonoma,Tickled and Pumpkin to create base for the layout fisrt.,with these pastes I did wet paste embossing on the layout.The paste dries in next 15 minutes giving a gorgeous 2D embossing effect.Then I pasted mesh fabric with the help of Fun glue by Craftyscrappers.
The Flower is handmade with White Cardstock from Craftyscrappers again and then I painted it using Shimmer sparay-Grape juice.Leaves are also painted using shimmer spray-bitter lemon.
I applied one more top coat of shimmer sprays on overall project after attaching them to desired places.The Mdf's are also from the Craftyscrappers and painted with prima acrylic colors.Lastly added some gold micro beads here and there on the layout to add shimmer.
Today I am quite excited for this post as I have tried something very new and different.Till now we all were exploring Craftyscrappers Fun foils on bases like paper,mdf and vellum.I have gone a step forward and have tried on Air dry Clay.To my surprise,it worked well on that as well.I had superb outcome.Let me share a picture of the frame I made using funfoiled clay flowers.
I simply loved the shimmery effect on the petals.Sharing the complete project pic along with few more close ups.
For the base,I covered cardboard with Black heavy gesso first,applied some red acrylic paint on a portion and then used shimmer paste along with stencil.Both paste and stencil are from Craftyscrappers. In the center I used a hand painted image and stuck mdf ornate around.
Rest of the flowers are all stuck with the help of silicon glue.Here are the pics of the procedure.
I have a video tutorial where I have shown the making of clay flower and how I have used fun foils on the petals of the flower.
Do watch the video and leave feedback.
I enjoyed the making and hope you will enjoy it too.
I am back again on Craftyscrappers blog with my new mixed media project.This one is a business name plate which I did recently for a friend who is into Saree business.I have used the super amazing and gorgeous products from Craftyscrappers which is launched recently in the name of "Shimmer sprays and Shimmer Pastes"...I totally loved using them,before I talk more on the versatility of these products,let me show you some of the pictures of my project first.
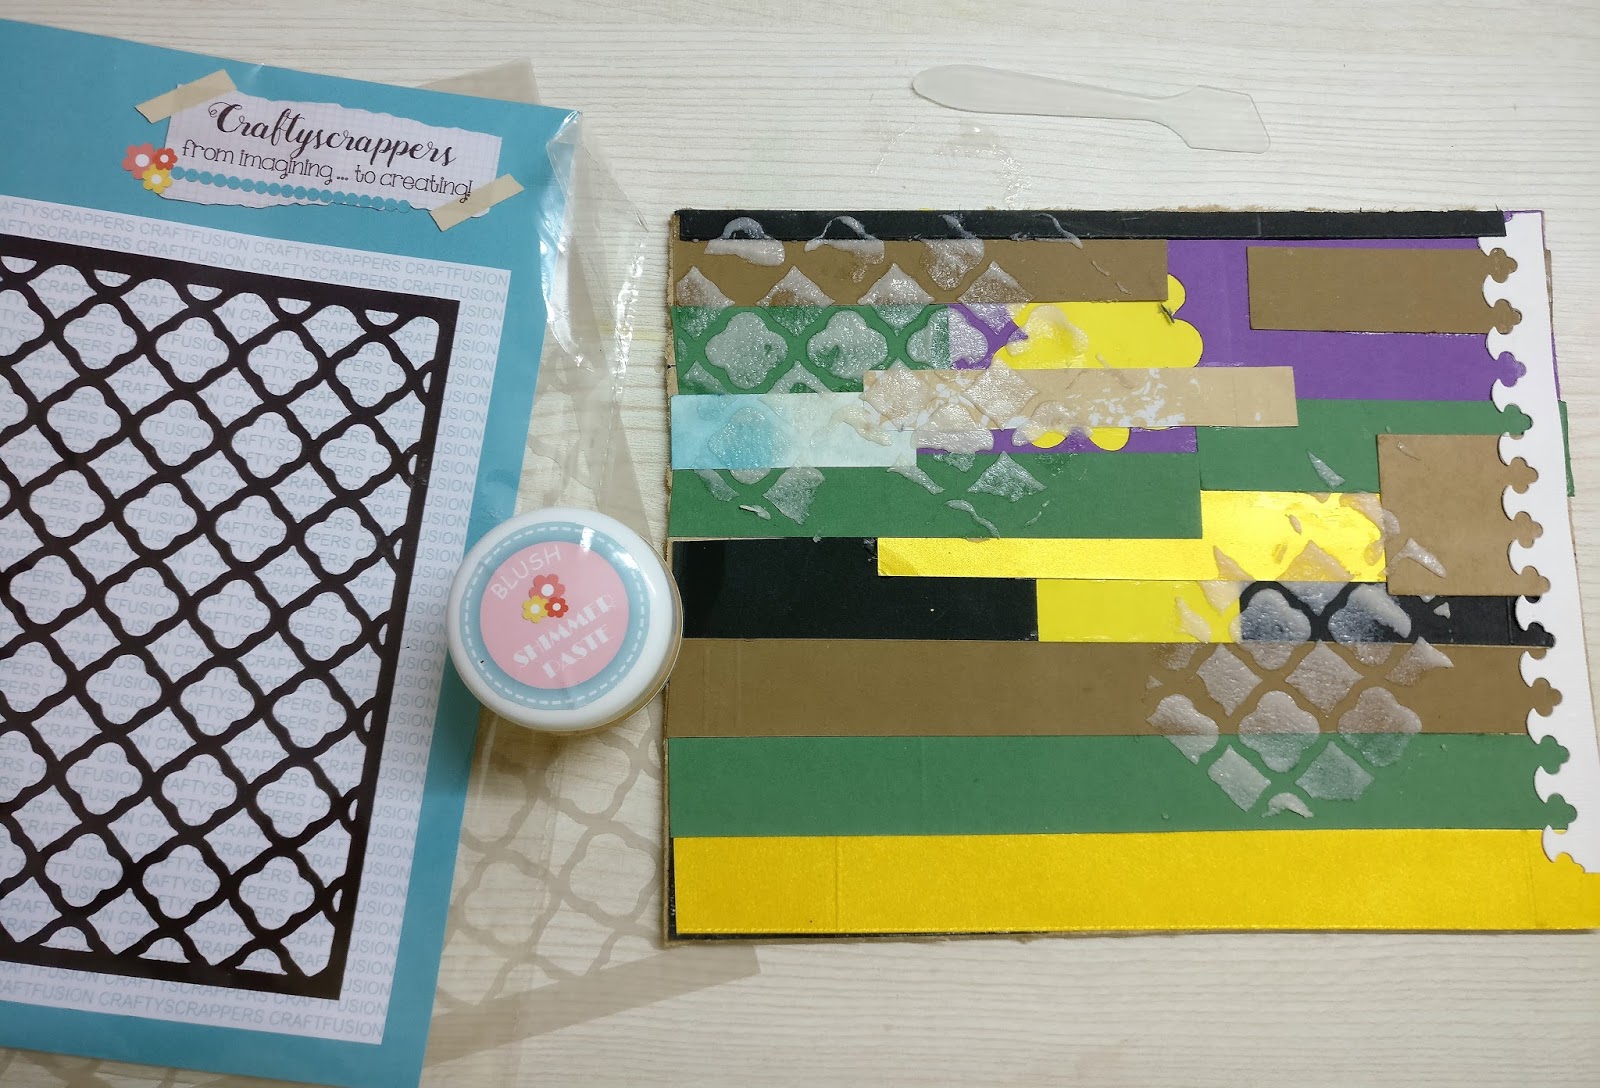
To make this one,I took a cardboard piece of size 7*8 inches and started pasting some scrap thin sheets of various colors card stocks....most of these strips were like leftovers from my earlier projects.
After that I took the Victorian stencil by Craftyscrappers and used it on the panel along with Blush shimmer paste and let it dry.We can heat dry also these shimmer pastes with the help of heat tool in case want to fasten the process.
Once my paste dried,I sprayed the shimmer paints on the paste...I still feel my picture is not justifying the real beauty of these sprays...these sprays blends beautifully with the paste and cover desired surface.I have used Bitter lemon and Ocean waves shimmer sprays.
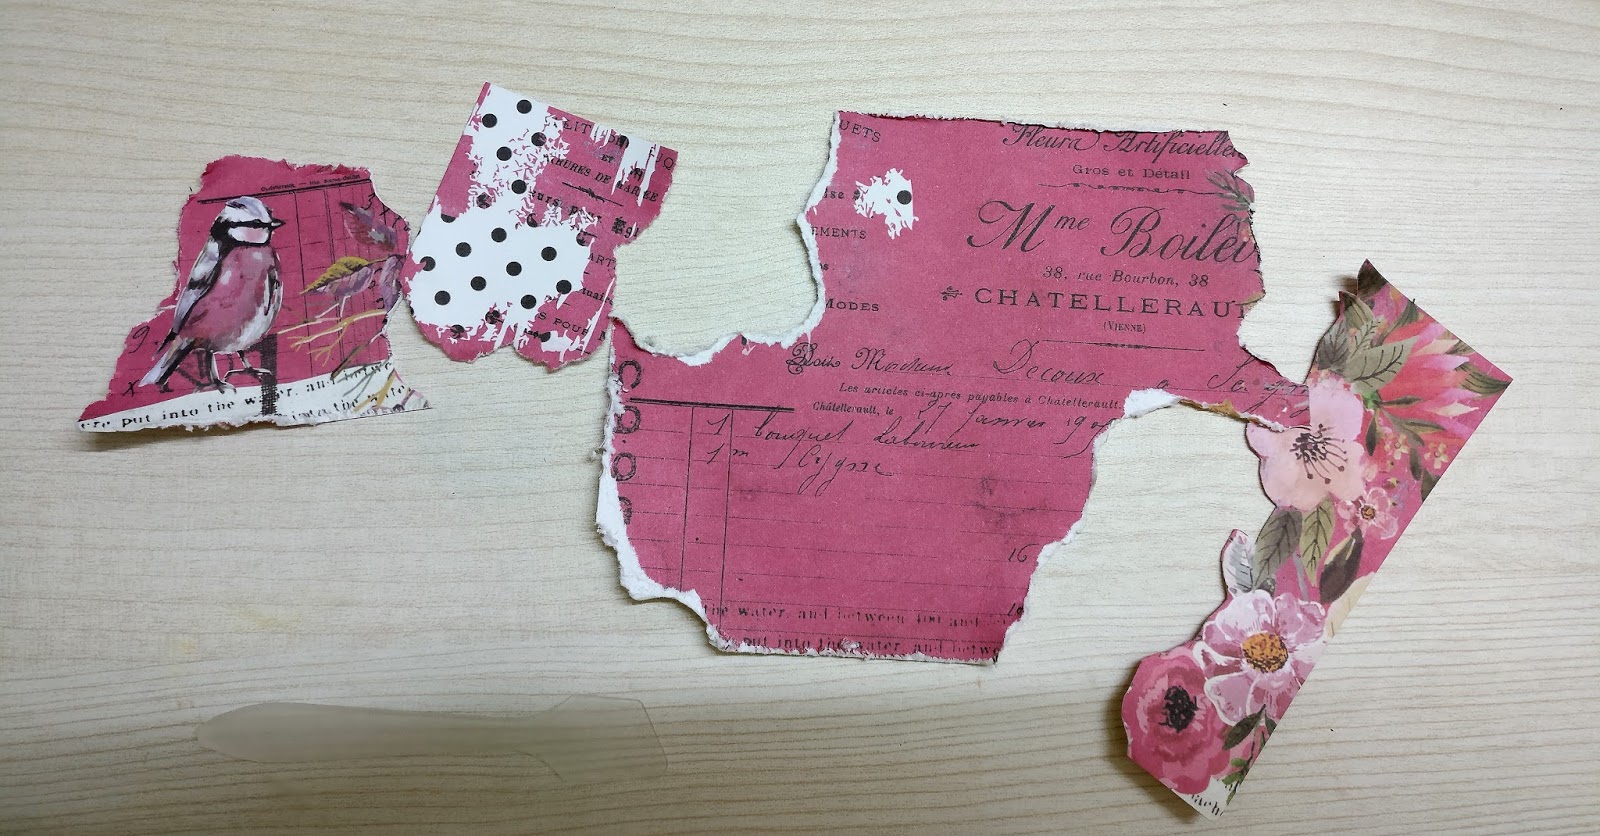
Then I took a pattern sheet cut it first and then did hand tearing to make it look a little more designer.
Then i pasted it on the panel using Matt medium glue.Next I used a lady stamp from Craftyscrappers ,hand painted it giving it a tint of gold by using Inka gold and creating Indian gold thread weaved Saree,I have often seen my mom wearing such Sarees but getting the feel on paper was real fun to try. Once all done ,have fussy cut it and pasted on the panel as shown in the picture.
On the borders,I have used Washi tape by Craftyscrappers...this tape added much desired shiny border to my project.
Next I have used some stamps from "U Sparkle" which gave meaning to the whole project.The word "Arbee" is brand name and not any stamp.
This completes my project,Sharing some close ups of the work below
I had lot of fun creating this piece and playing with my new possession,the shimmer pastes and sprays.
Today I am so excited to be on Craftyscrappers blog.I received some beautiful stamps sets, stencil,some gorgeous die cuts and sequins in my Gdt kit.Here is a sneak peak of the full kit.
For my today's post,I have used stencil and few sentiments from lotus stamp set. I will show you not one or two but total seven techniques by using same stencil.I have a video tutorial for you as well where I have explained each bit of making in detail.So lets start now..
1. My first inspiration card is here
I have used Wild honey and Seedless preserves Distress ink to create background with the stencil.The sentiment is from Penny Black.I have added Enamel dots to embellish my card.
2. My second Inspiration card
I have used Lindy's Sprays Flat Pabio colors for this technique initially as first layer and then topped it with Squeezed Lemonade distress ink .The Birthday banner with Penguin is from Your next stamp and the sentiment is from Craftyscrappers Lotus stamp set.
3.Third Inspiration Card
In this card I have used embossing powder for my technique and then applied some Salty ocean distress ink for resist technique.lastly embellished with Die cut.
4. Fourth Inspiration Card
I have used same Lindy sprays again ,this time differently and embellished with beautiful Die cuts I received in my kit with some sentiment tiles.
5. Fifth Inspiration Card
I loved doing this one.I have used Barn door distress ink with stencil for back ground and have stuck a girl stamp hand painted with Zig colors.The sentiment is from Craftyscrappers Lotus stamp set.
6. Sixth Inspiration Card
For this card I have used Modelling paste with picked raspberry distress ink.The gorgeous lotus and sentiment is from Lotus stamp set.Lastly embellished with Pink organza ribbon.
7. Seventh Inspiration card
For this one I have used Lindy's Daubers,embellished with lace and die cut.Sentiment is from Lotus stamp set.
All these techniques are easy to try and give beautiful results.I had fun doing all of them.Hope you have enjoyed too.Do watch the video for step by step instructions.
I am entering these cards in Paru's Card making Challenge