I have made a multiple flaps card using Tubby Craft stamps and inks.
Let me share some pictures first,
This card measures 8" 10" while folded and tied with ribbon. To make each flap I have attached with an extra half inch paper from the back side of the card.
This is how it looks when opened completely with its 4 flaps.
Each side of the card is covered in pattern paper and some small embellishments.
I have kept some space inside the card to write the messages.
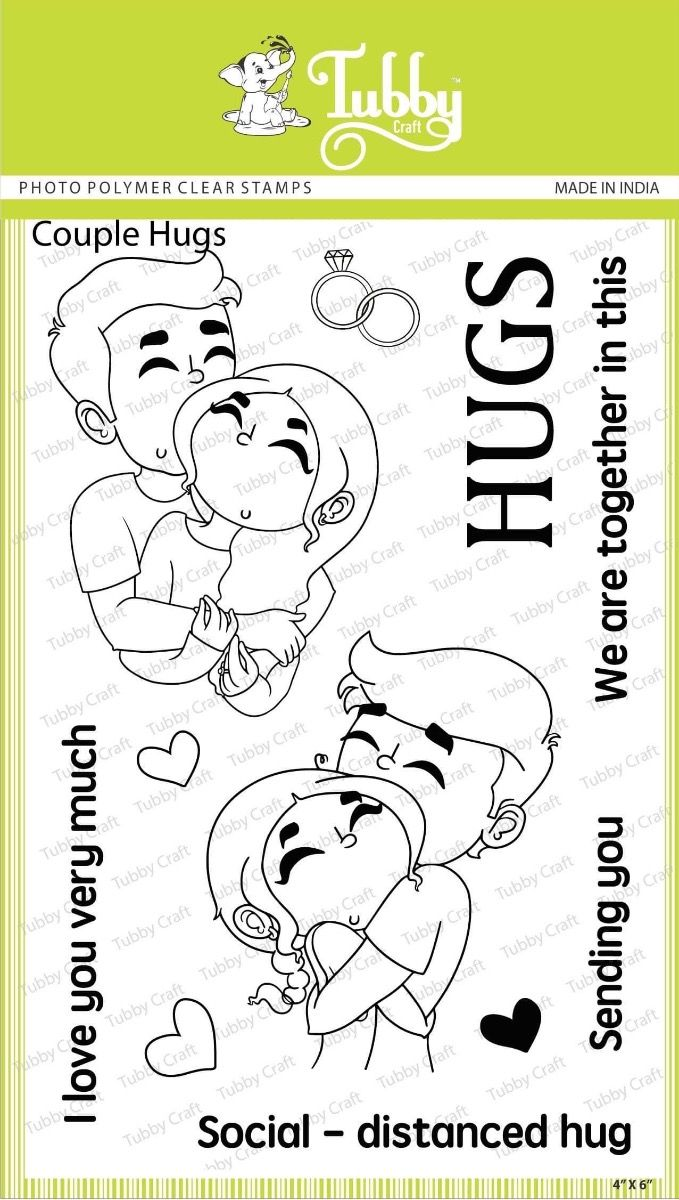
To make my card front, I have used some pattern paper in the background and topped up with the cutest stamp image from Couple Hugs stamp set.
I have done the colouring using alcohol markers.
The sentiment is stamped in Jet Black Tubby Craft ink.
I have attached a coordinated organza ribbon from the back of the card. This add a lot of charm to the card along with securing all flaps together.
I have used
Hope you liked this card and will definitely give it a try.
I am back on the blog with some beautiful card inspirations. I can never have enough birthday cards, so I have once again tried a birthday card. Along with that is a lovely love themed card for upcoming season of love.
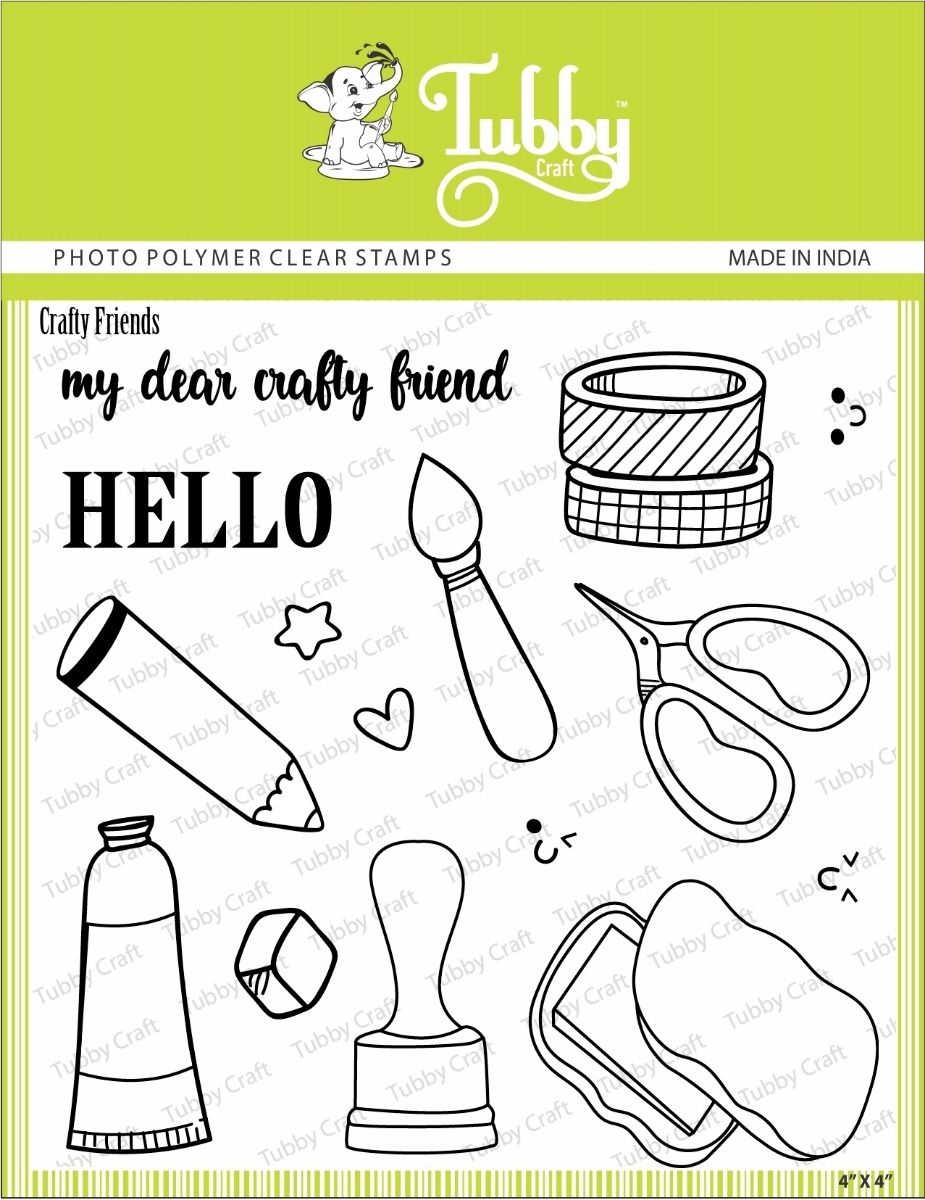
For my first card, a birthday one, I have used Crafty Friends stamp set in the background inked in Tubby Craft Jet Black ink.
Next I stamped this cute girl from best Buddies stamp set and coloured it. I added a happy Birthday die cut and placed the girl according to the sentiment.
I added a pattern paper thin strip to add interest to the white card stock. I adhered this whole white panel to blue base card stock and its complete.
Now onto my next card which is love card
This card is real fun. I have tried some mixed media in the background. To start with I took a white card base and foiled hearts in gold.
Next I cut tag shaped red and pink card stock and used Zig Zag Stencil, Gradient Cubes stencil with white mixed media paste.
I stamped this cute image from Couple Hugs and coloured in alcohol markers. Sentiment is heat embossed in white powder.
Creating Birthday cards is always fun. I have this feminine birthday card for today using Stenciling technique.
To make my card, I have taken a white base card and Balloon stencil. I have chosen four shades of inks for my card.. Raspberry, Hot Pink, Light Pink and Lilac Purple.
I have tried layering with stencils for this card. The stamped cake image is from Birthday wishes stamp set.
I completed my card with some coordinating enamel dots.
I have a complete video tutorial for this card showing how I made it focusing on various techniques of stenciling and many more
You can click here to view
I have a simple and quick bookmark also to inspire you today.
For this Bookmark I have used Alphabet Fun stencil
I have simply stenciled using Sapphire Blue ink and a blender with the stencil.
Next I took some Kraft corrugated paper and plain paper to put sentiments as shown.
I completed my bookmark with a Baker's twine.
Hope you enjoyed both my projects and inspired to make on your own.
I have a fun card for you all today . Mostly we make our cards in either square or rectangular shapes. So today, I want to show you a cute card in a circle shape. I am trying this for the first time and totally loved making it.
To make this card, I took a Blue cardstock and folded it into half. To get a circle shape card, I left little bit from the top while die cutting and that's how the two sheets remained joint.
Next I cut a smaller size circle and adhered on the base card. Now I took another smaller white card stock and inked with Aqua Blue tubby Craft Ink. I also used Circle Spread stencil with the same color ink.
I cut some grass on green card stock and adhered at the bottom, I stamped some Plants, Bubbles and a small fish from Best Fishes stamp set in Sapphire blue ink.
Next I stamped a big fish and colored in Copics, fussy cut it and adhered using double sided tape. The sentiment is inked in Jet Black Tubby Craft Ink and is from the same stamp set.