Showing posts with label Name plate. Show all posts

Thursday, 26 April 2018

Elegant name plate!

Today I want to show you a name plate done by me recently...This one is completely up cycled. I have used some scraps of wood lying with me to create this name plate.Let me share a picture of the plate first.


So I started by taking two vertical panels and fixed hooks on both at the back of them.I have used a Paper from No One but You Scrapbook paper from Bob and Betty.I used Mod Podge to adhere the paper to the base.For the horizontal panels,I have used Papericious Naturals designer paper and again adhered with Mod podge. The circles used on the left hand top corner are the old coasters which have been decoupaged with Bob and Betty Festive assortments decoupage papers.The smaller circle is colored with Papericious Chalk paints with a hint of Acrylic colors and topped with Glossy accents.

The names on the plate are covered with Papericious Heavy black Gesso and topped with Glossy accents to add shine and volume to the project.

The peacocks are colored with Papericious chalk paints and then topped with white sparkle.

Hope you liked it.

I am joining this name plate to following challenge:


Thanks for visiting my blog.

Hugs,Anushree


Friday, 16 February 2018

Name plate -- Peacock and vintage style

Hello folks,

I have a beautiful name plate to showcase today on the blog.

Let me share the picture of the name plate first to jump on the material used and procedure later.


Sharing some close ups of the name plate now


Material used:
Raw name plate base from TECS
Pattern paper
Wooden peacock embellishment from TECS
Vintage side corner embellishment from TECS
Wooden alphabets for surname from TECS
Glossy accents
Crystal glitter
Prima blue and green acrylic colors
Archival ink- Majestic Violet
White embossing powder
Heat tool
Versamark ink
Inka gold


Instructions:
Take a raw name plate base and apply Gold inka color generously all over except the portion to be covered with pattern paper.Cut the pattern paper to fit size as desired.
Take the peacock embellishment and apply acrylic colors as per design, once that dries,apply Crystal Glitter.
For the corner wooden embellishment,just rub the archival ink keeping the vintage effect alive.
For the name,ink all alphabets with Versamark ink and put white embossing powder on it, shake off the extra powder and then heat set it with heat tool.
Adhere everything with clear glue or glossy accents.


Hope you have liked the name plate.

Happy Crafting!!
Anushree

Sunday, 17 September 2017

Business name plate with Shimmer sprays and pastes

Hello Friends,

I am back again on Craftyscrappers blog with my new mixed media project.This one is a business name plate which I did recently for a friend who is into Saree business.I have used the super amazing and gorgeous products from Craftyscrappers which is launched recently in the name of "Shimmer sprays and Shimmer Pastes"...I totally loved using them,before I talk more on the versatility of these products,let me show you some of the pictures of my project first.


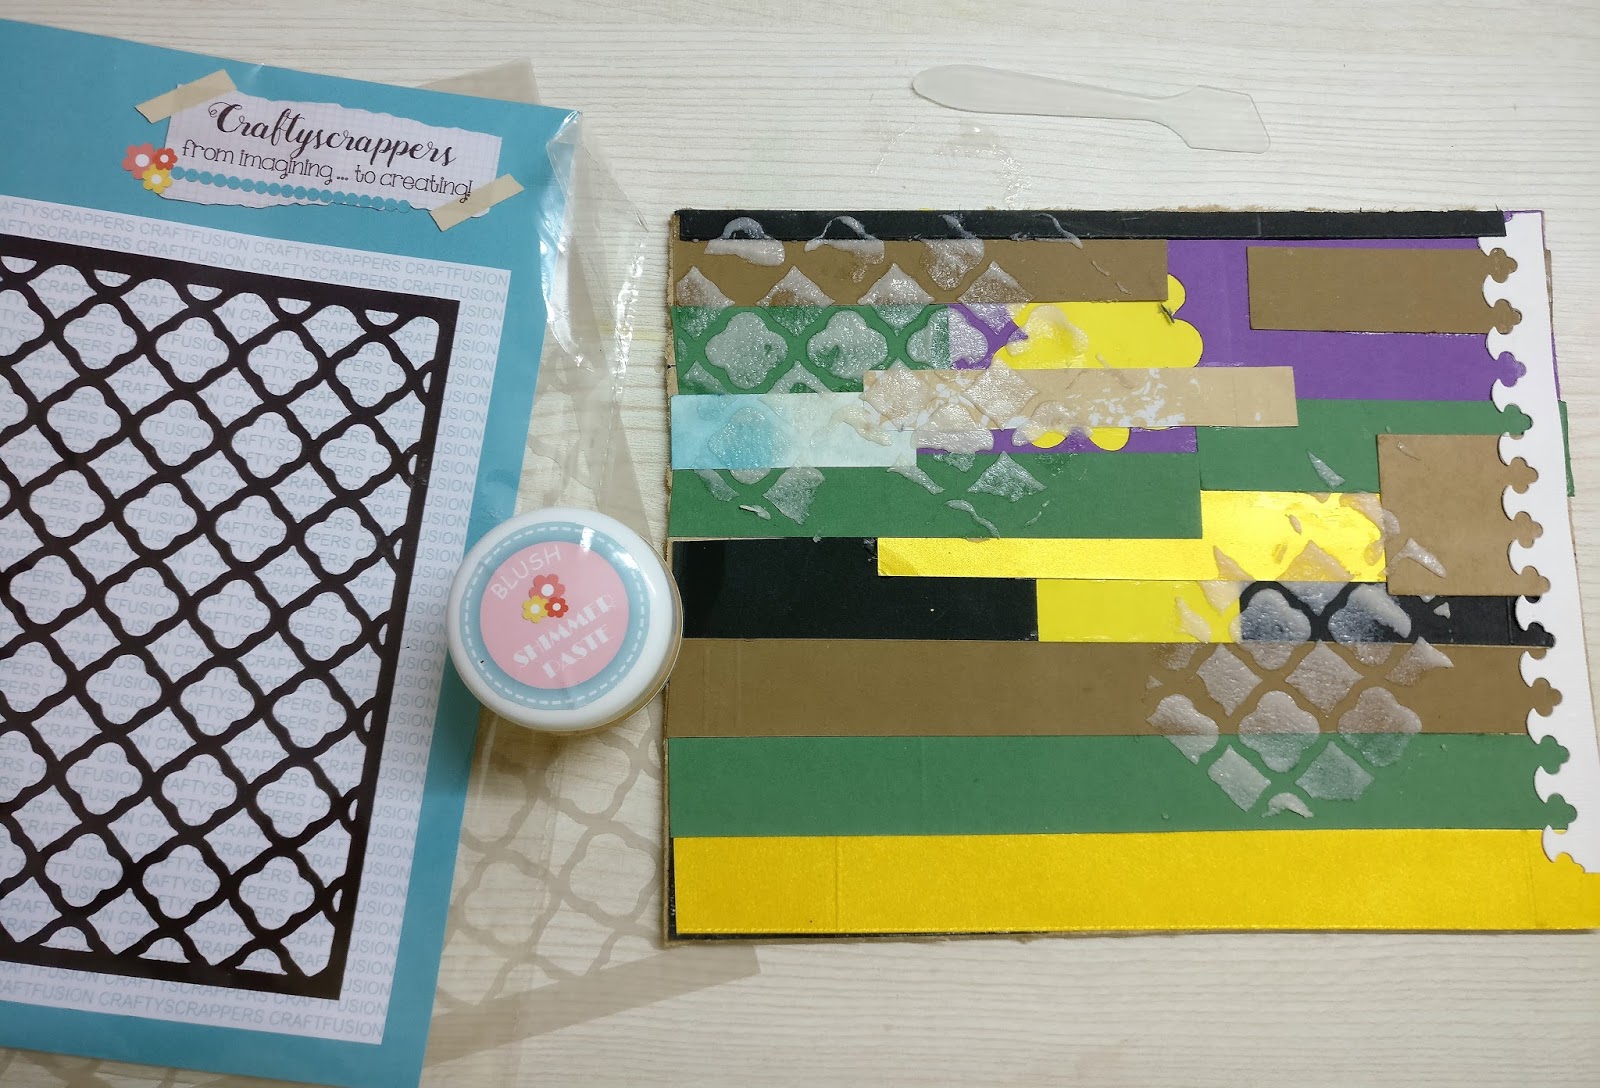
To make this one,I took a cardboard piece of size 7*8 inches and started pasting some scrap thin sheets of various colors card stocks....most of these strips were like leftovers from my earlier projects.


After that I took the Victorian stencil by Craftyscrappers and used it on the panel along with Blush shimmer paste and let it dry.We can heat dry also these shimmer pastes with the help of heat tool in case want to fasten the process.


Once my paste dried,I sprayed the shimmer paints on the paste...I still feel my picture is not justifying the real beauty of these sprays...these sprays blends beautifully with the paste and cover desired surface.I have used Bitter lemon and Ocean waves shimmer sprays.


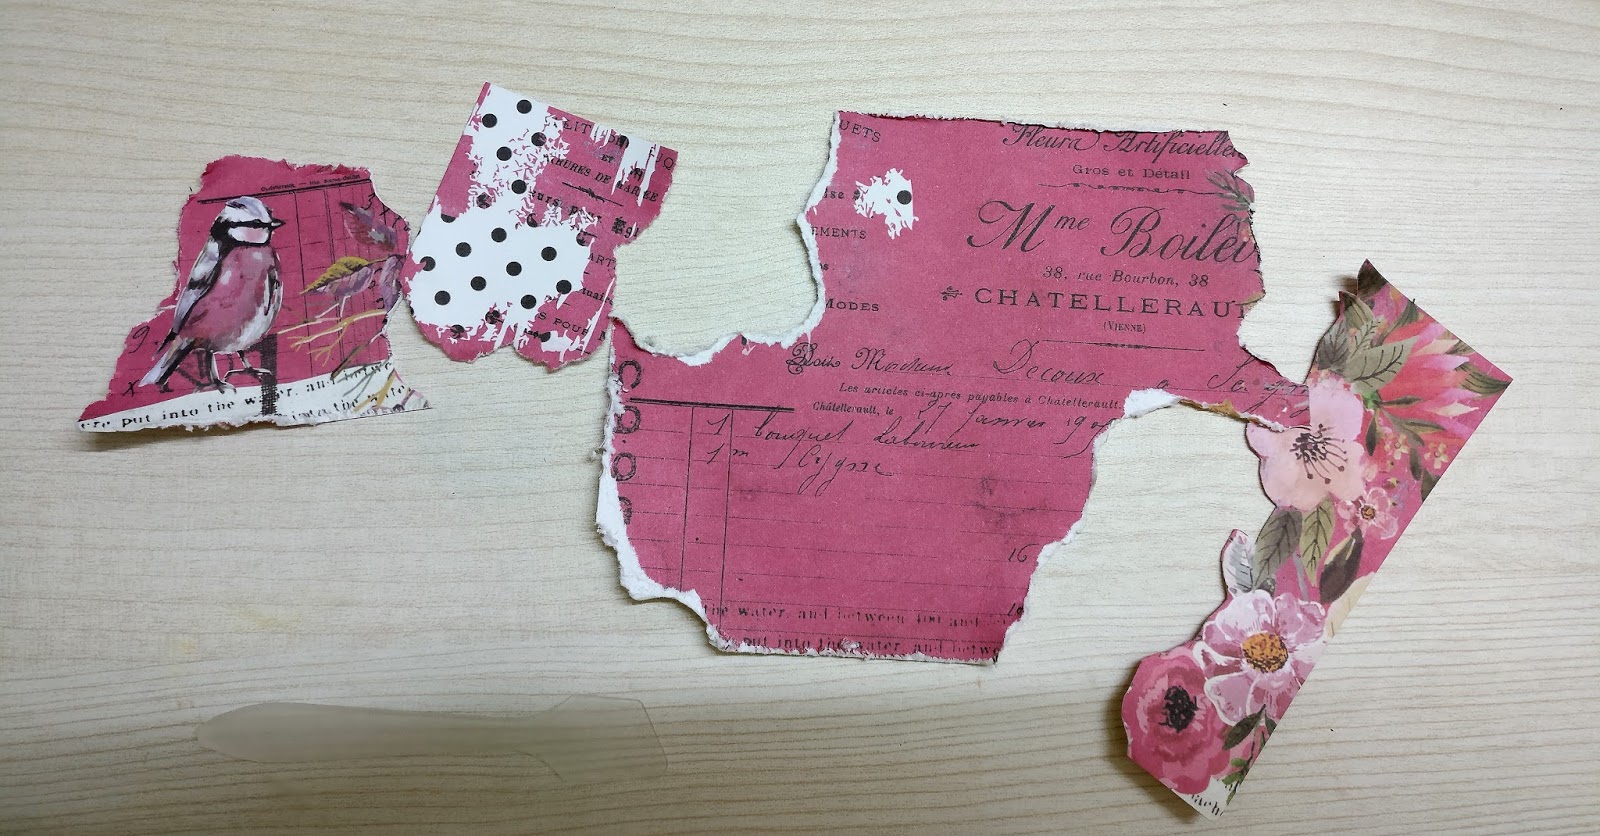
Then I took a pattern sheet cut it first and then did hand tearing to make it look a little more designer.


Then i pasted it on the panel using Matt medium glue.Next I used a lady stamp from Craftyscrappers ,hand painted it giving it a tint of gold by using Inka gold and creating Indian gold thread weaved Saree,I have often seen my mom wearing such Sarees but getting the feel on paper was real fun to try. Once all done ,have fussy cut it and pasted on the panel as shown in the picture.


On the borders,I have used Washi tape by Craftyscrappers...this tape added much desired shiny border to my project.


Next I have used some stamps from "U Sparkle" which gave meaning to the whole project.The word "Arbee" is brand name and not any stamp.


This completes my project,Sharing some close ups of the work below


I had lot of fun creating this piece and playing with my new possession,the shimmer pastes and sprays.

I hope u enjoyed it too.

Happy crafting!!

Anushree