Sunday, 17 September 2017

Business name plate with Shimmer sprays and pastes

Hello Friends,

I am back again on Craftyscrappers blog with my new mixed media project.This one is a business name plate which I did recently for a friend who is into Saree business.I have used the super amazing and gorgeous products from Craftyscrappers which is launched recently in the name of "Shimmer sprays and Shimmer Pastes"...I totally loved using them,before I talk more on the versatility of these products,let me show you some of the pictures of my project first.


To make this one,I took a cardboard piece of size 7*8 inches and started pasting some scrap thin sheets of various colors card stocks....most of these strips were like leftovers from my earlier projects.


After that I took the Victorian stencil by Craftyscrappers and used it on the panel along with Blush shimmer paste and let it dry.We can heat dry also these shimmer pastes with the help of heat tool in case want to fasten the process.
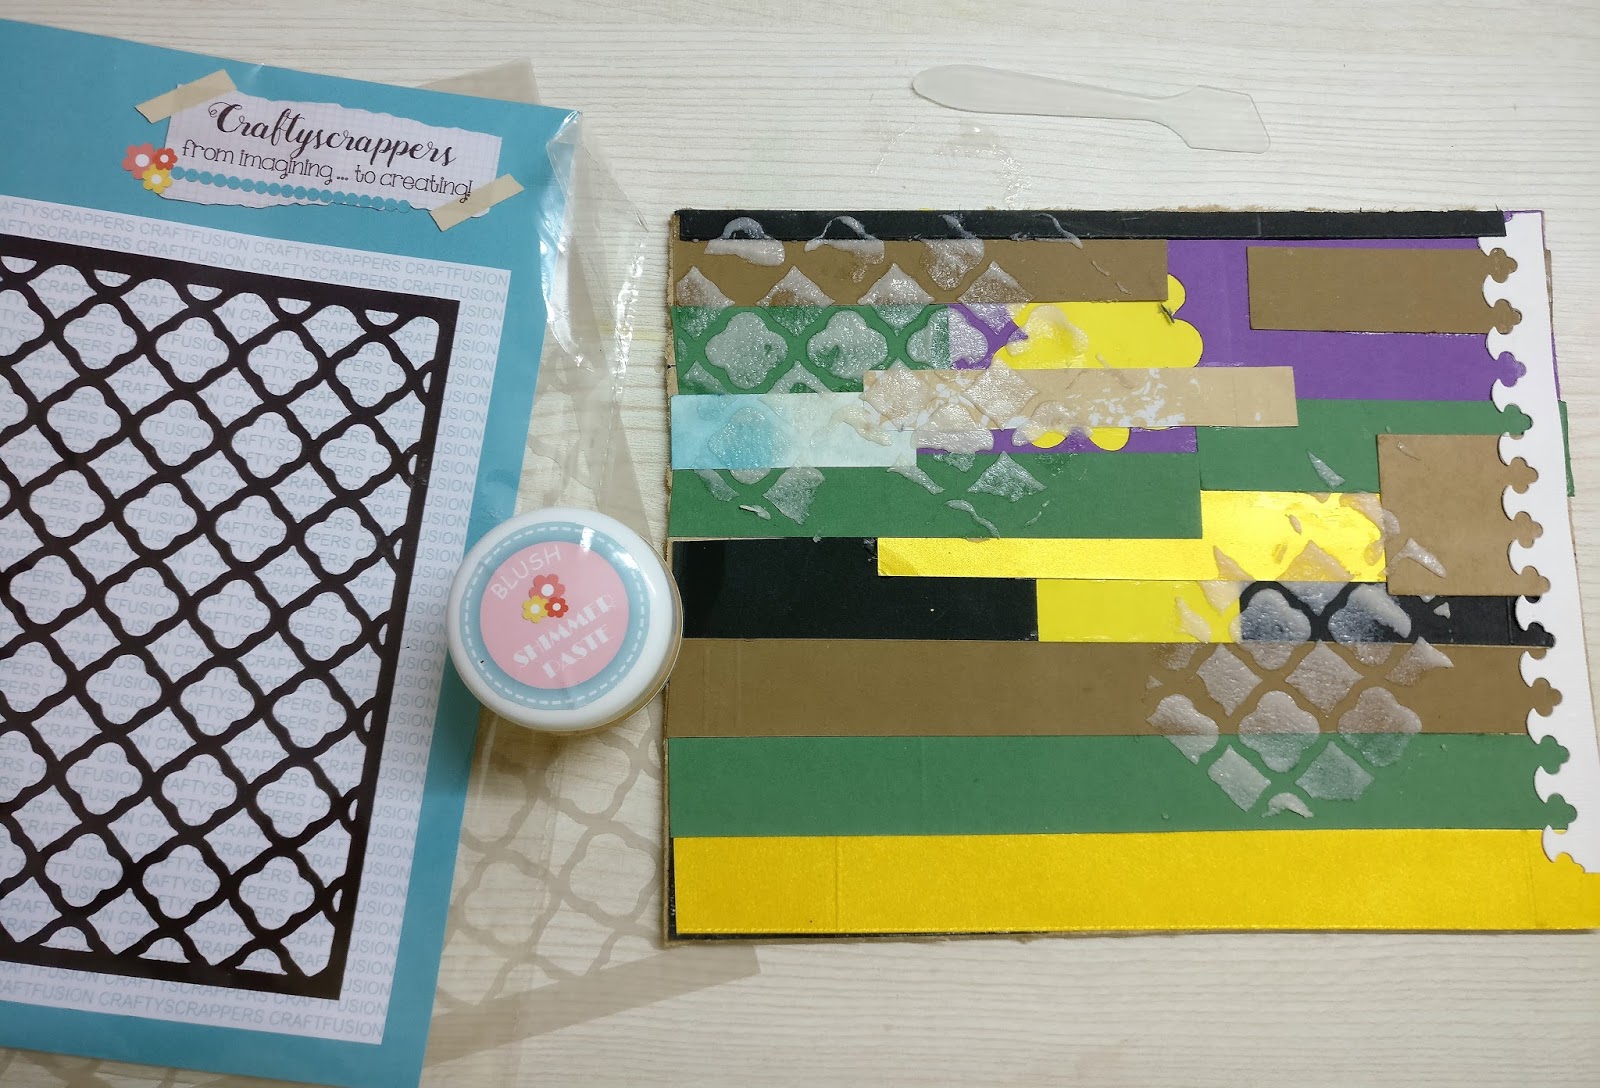

Once my paste dried,I sprayed the shimmer paints on the paste...I still feel my picture is not justifying the real beauty of these sprays...these sprays blends beautifully with the paste and cover desired surface.I have used Bitter lemon and Ocean waves shimmer sprays.


Then I took a pattern sheet cut it first and then did hand tearing to make it look a little more designer.

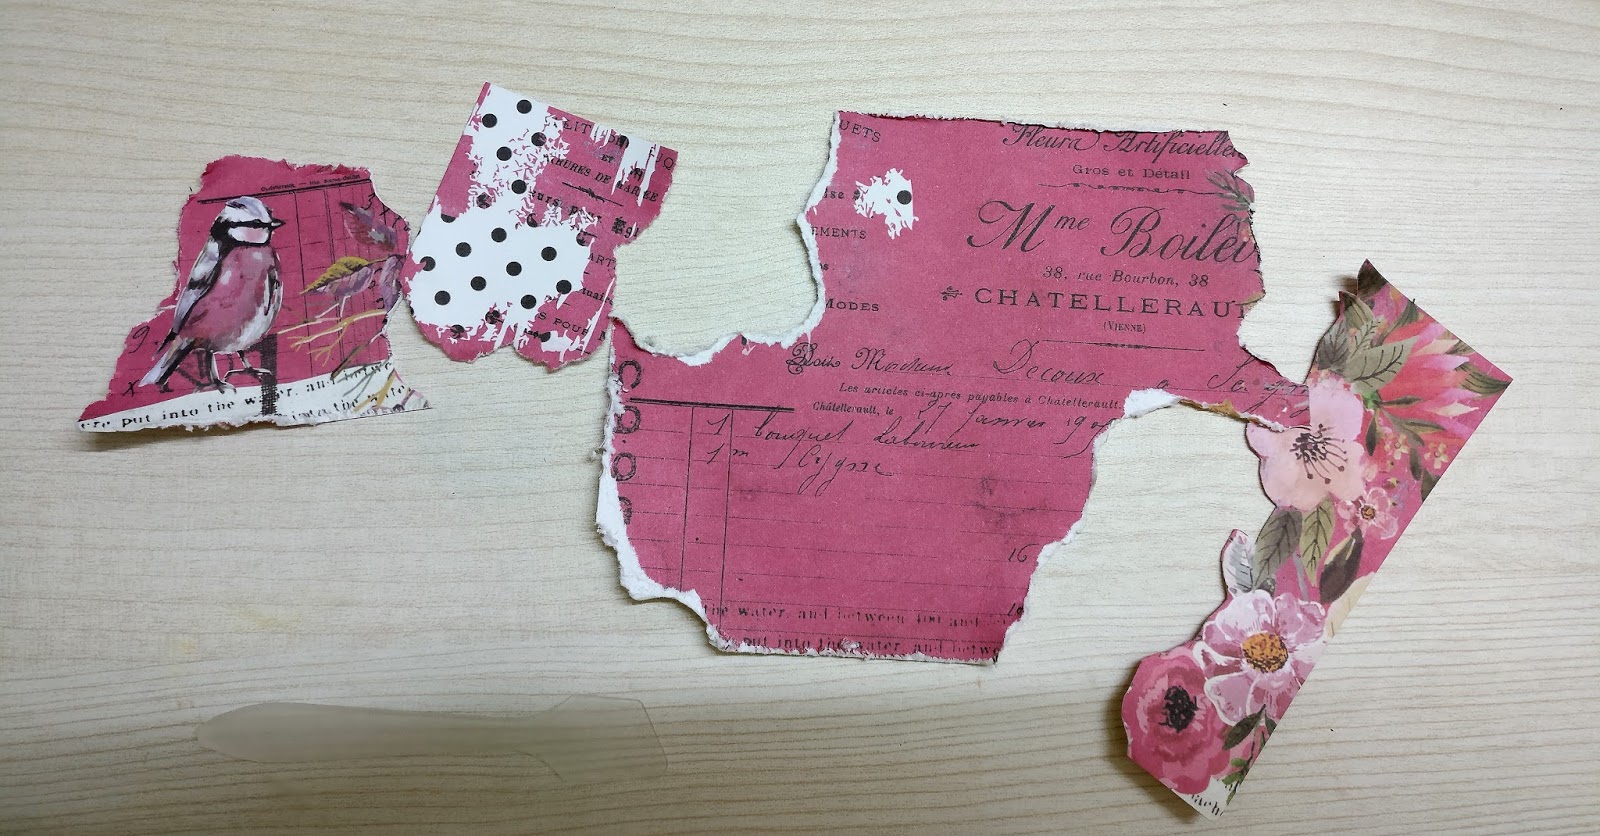

Then i pasted it on the panel using Matt medium glue.Next I used a lady stamp from Craftyscrappers ,hand painted it giving it a tint of gold by using Inka gold and creating Indian gold thread weaved Saree,I have often seen my mom wearing such Sarees but getting the feel on paper was real fun to try. Once all done ,have fussy cut it and pasted on the panel as shown in the picture.


On the borders,I have used Washi tape by Craftyscrappers...this tape added much desired shiny border to my project.


Next I have used some stamps from "U Sparkle" which gave meaning to the whole project.The word "Arbee" is brand name and not any stamp.


This completes my project,Sharing some close ups of the work below


I had lot of fun creating this piece and playing with my new possession,the shimmer pastes and sprays.

I hope u enjoyed it too.

Happy crafting!!

Anushree


Sunday, 10 September 2017

Sparkle and Shine

Hello Friends,
Today I am so excited..this is my first post for Craftyscrappers as a design team member.I have a beautiful inspiration project for you all where I have used lot of Craftyscrappers products.Before I talk more on these awesome products,let me give you a glimpse of my work.My inspiration behind this project are my two little princesses,my daughters...Myra and Misha.


To make this piece,I used a canvas board as my base.Then I applied a coat of Gesso all over the board.On one of the corner,I used Rose Bunch stencil from Craftyscrappers with modelling paste and let it dry.I had an old crochet piece done by my mom which was little torn on half of one side...i used the other half to create a beautiful semicircle pattern running on side of the board.I stuck this using multi medium matte glue.After that I applied one coat of Gesso all over on the crochet piece.

I made these flowers separately and colored them using distress inks.Then they are hand molded to turn into blooms. Center of flowers is enamel dots.

Once all the Gesso is dried,i started with my favorite activity with my favorite Craftycrappers release...The Shimmer sprays...I have used a mix of 3 colors in sprays...The effect is awesome..I think my project is already speaking about the goodness of these sprays....definitely a must try for all crafters and non crafters too.

I have used heat tool to dry the sprays .Then I used some quotes from "U SPARKLE" stamp set ..stamping with Craftyscrappers stamps is super cool as they are good with all surfaces.I used black archival ink to do stamping.

Lastly I have stuck some embellishments like beads,Inka gold,printed quotes from Prima marketing,resin frame,mdf ruler embellishment and Stampendous gold luxe mix to enhance the beauty.

Sharing some close ups now


Here is list of craftyscrappers products used for this project

1.Rose bunch stencil
2. U sparkle stamp set
3. Shimmer sprays,Sweet pumpkin,Bitter lemon and mystical sky

I completely enjoyed doing this one...hope u enjoyed it too.

Happy crafting
Anushree


Wednesday, 30 August 2017

One card many techniques

Hello frens,

Today I have a quick card for you all where i have tried to put many techniques in a single card.Let me show you the card first and then talk more on this.


So here is my card where You can notice I have done some stenciling, stamping, coloring , distressing and trying few new techniques like giving crackle effect.I have used different products from different brands for this card but my main inspiration behind the card was Altenew  August 2017 Challenge


Here's how I have made this card...So i took a main cardbase and distressed a little on the borders with peeled paint distress oxide ink.Then i have put a Kraft card stock on top of it where i have done stenciling using TCW Art is stencil,I have used finnabair modelling paste for that.

The flower in the center is from Altenew stamp set Dahlia blossoms,I stamped the flower on separate sheet,have also done gold heat embossing in the inner petals before water coloring it with peeled paint distress oxide ink.After that i added  Rangers Crackle accent on top of it..You can see the effect in close up pics here.


In the center I have added a white cardstock where i have used walnut stain distress oxide ink again,added an organza ribbon to keep my card with Altenew theme.

Sentiment is from Just right stamps.I also added some cup sequins in the end to the card to keep gold green theme .I am below adding pics of material used 


Hope u all enjoyed my card as I did.I am also entering this card to Altenew Challenge.

Happy crafting
Anushree


Saturday, 12 August 2017

happy me with Altenew

Hello frens,

Long time,yes I got busy with lot of other personal things in the last month but each day I was crafting,maybe little less than usual days..I am sure all crafters will agree with me..FOR us crafting is real OXYGEN..hehh.

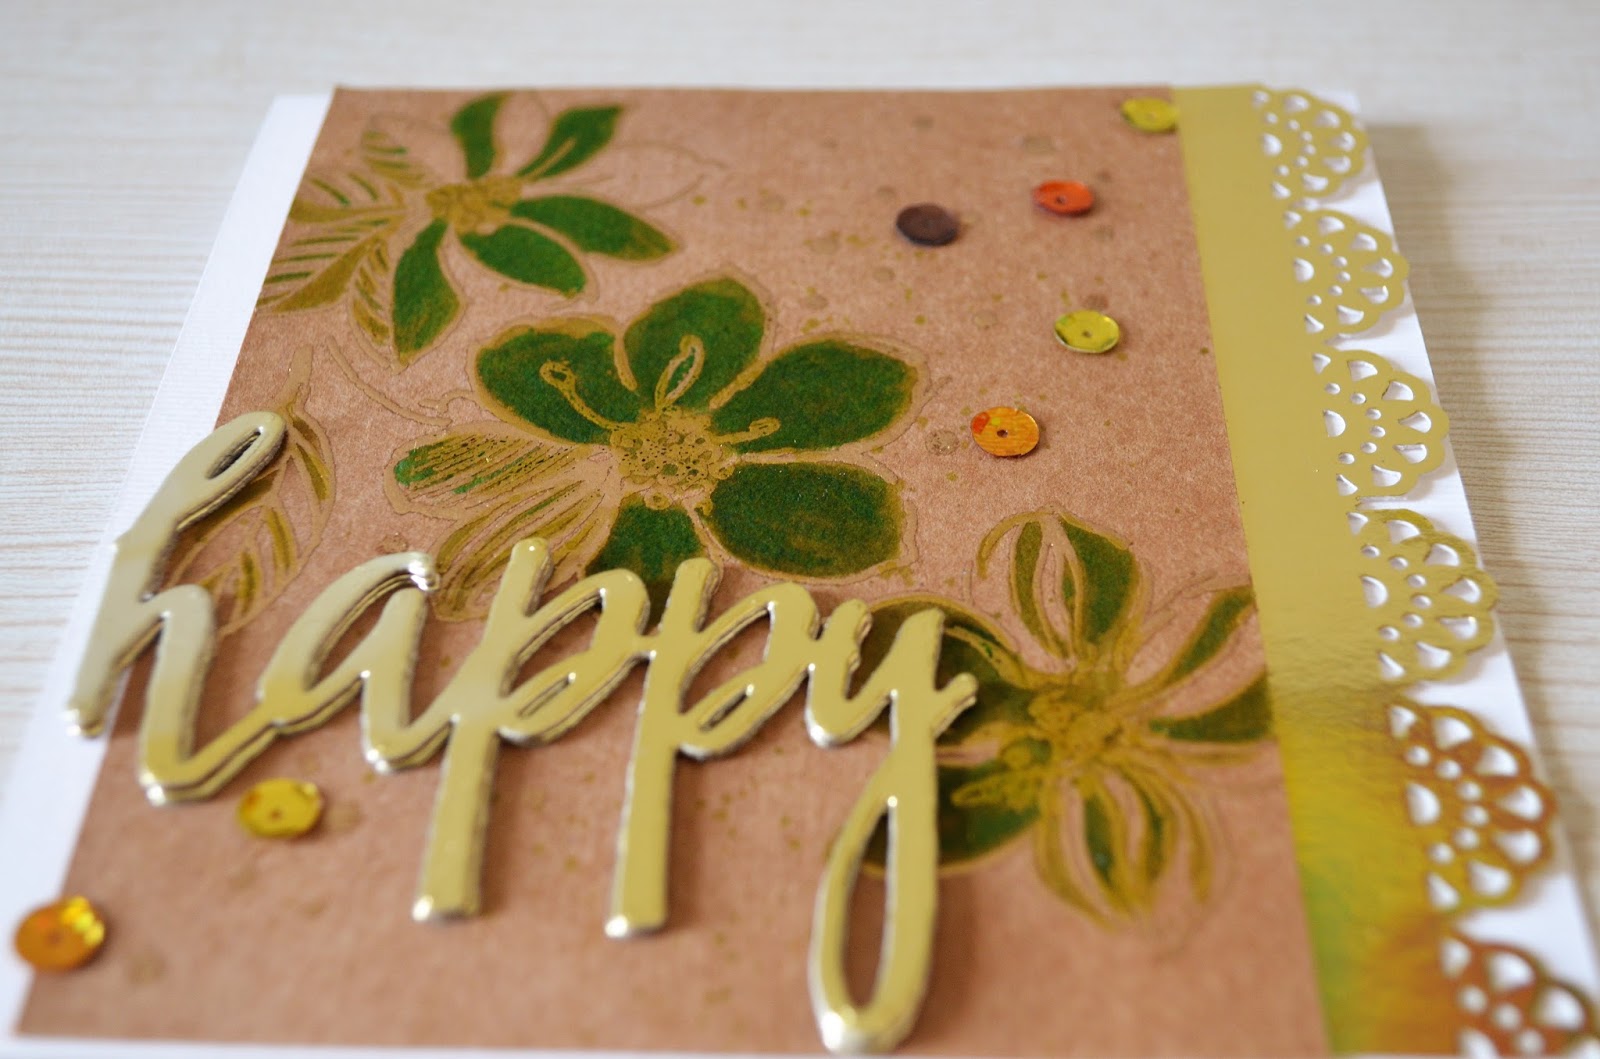
Now coming back I have beautiful card made with Altenew Wild Hibiscus stamp set.I have also used Altenew Happy die for sentiment.Sharing a quick picture of my card with a close up pic as well.


While I sat down to start after a break,i really needed an inspiration dose and what best than Altenew August challenge Inspiration.I have always admired Erum's work and her coloring skills.Sharing the picture of the challenge along with the link


I loved the unusual color combination.For my card I kept color theme as my inspiration.My base cardstock is kraft cardstock giving me a nice brown background.I have heat embossed the flowers with gold embossing powder and then used alcohol ink for coloring.For this card i tried creating splatters through heat embossing techniques only.

The sentiment is die cut from Altenew happy die on a gold cardstock.The right hand border is also done on gold cardstock with the help of border punch.Lastly added some cup sequins and my card is done.

This one looked much more beautiful in real than what you can see in picture.Maybe I was not able to capture real gold and green effects.

Attaching this card to current challenges:
1. altenew


Thank u for visiting.

Happy crafting.
Anushree


Wednesday, 28 June 2017

Destiny Mini album

Hello friends,

Today I have a wonderful tutorial to share with you all.Its a mini album,Albums have been always my favorite and i am sure all of us whether we are making or not,do admire these handcrafted beauties. Sometimes people ask me what to make if we don't have prior knowledge or if not much time is there.My answer for all these queries is these sweet wonderful mini albums.

I have made one for today's post.Let me show you a picture of the same.


Ah I am really loving the finish and colors.Here is the list of supplies I have used with instructions followed by.

Supplies used:
1. Cardboard
2.White cardstock
3. Pattern paper
4. Sentiment Tiles
5. Metal charms and chains
6. Mini beads
7. Tacky tape
8. Clear glue
9.Organza ribbon

Instructions:
I took a cardboard and cut it into given dimensions.


After that I took cardstock and marked it to make hinges.


After that folded it fan style so that it looks like this


once this is done I attached it to cardstock,then I started putting pattern papers


The way I have made pages will be clear with the video attached,pls watch and leave feedback.

Sharing more pics of the album pages .


Also attaching few pictures of close ups of front and back with top view of the album.


Attaching the video below.


Hope you enjoyed it.

Happy Crafting
Anushree