Showing posts with label Distress inks. Show all posts

Tuesday, 22 May 2018

Pink wishes!!

Hi friends,

I am so excited to show this card today...this one I always wanted to create but somehow never was able to...Recently got my new Sugarpea stamps...the moment I saw Pretty Peonies stamp set from Sugarpea designs,I just knew this one is special😇😊,Here is my card without much ado


For this card,I was completely inspired by Sugarpea challenge

 I have mixed up both the sides offered by the challenge.

For this card,I have taken a cardbase of 5*6 inches.For the first time,I also tried using Sigma cardstock from Papericious as my base.I tried ink blending and also heat embossing on the sheet.Both happened smoothly and with great finish.

I have distressed the background with Worn Lipstick distress ink.After that I heat embossed the stamped image with Gold embossing powder and tried filling in few more colors using watercolors.The sentiment is also heat embossed with gold powder.Lastly I added sequins and beads to add final touches.

Hope you liked my card.

I am entering this card to following challenges:


I have made a feminine card for the challenge,inspired by Erum's card for the challenge


Thanks for visiting my blog.

Anushree


Monday, 23 April 2018

Happy blooms !!


 Hello friends,

I had a busy weekend with guests around...I made this card before starting the weekend for a last minute requirement of a friend who wanted to give one of my handmade cards to her 8 year old niece who is completely mad about crafts.I was quiet happy with the feedback I got that the little girl loved it.

I am totally excited to share this card as I have used my brand new buys from Altenew for this card.Let me share the card with you...


My inspiration for this card came from April Inspiration posted on Altenew card blog..here is a picture of the inspiration 

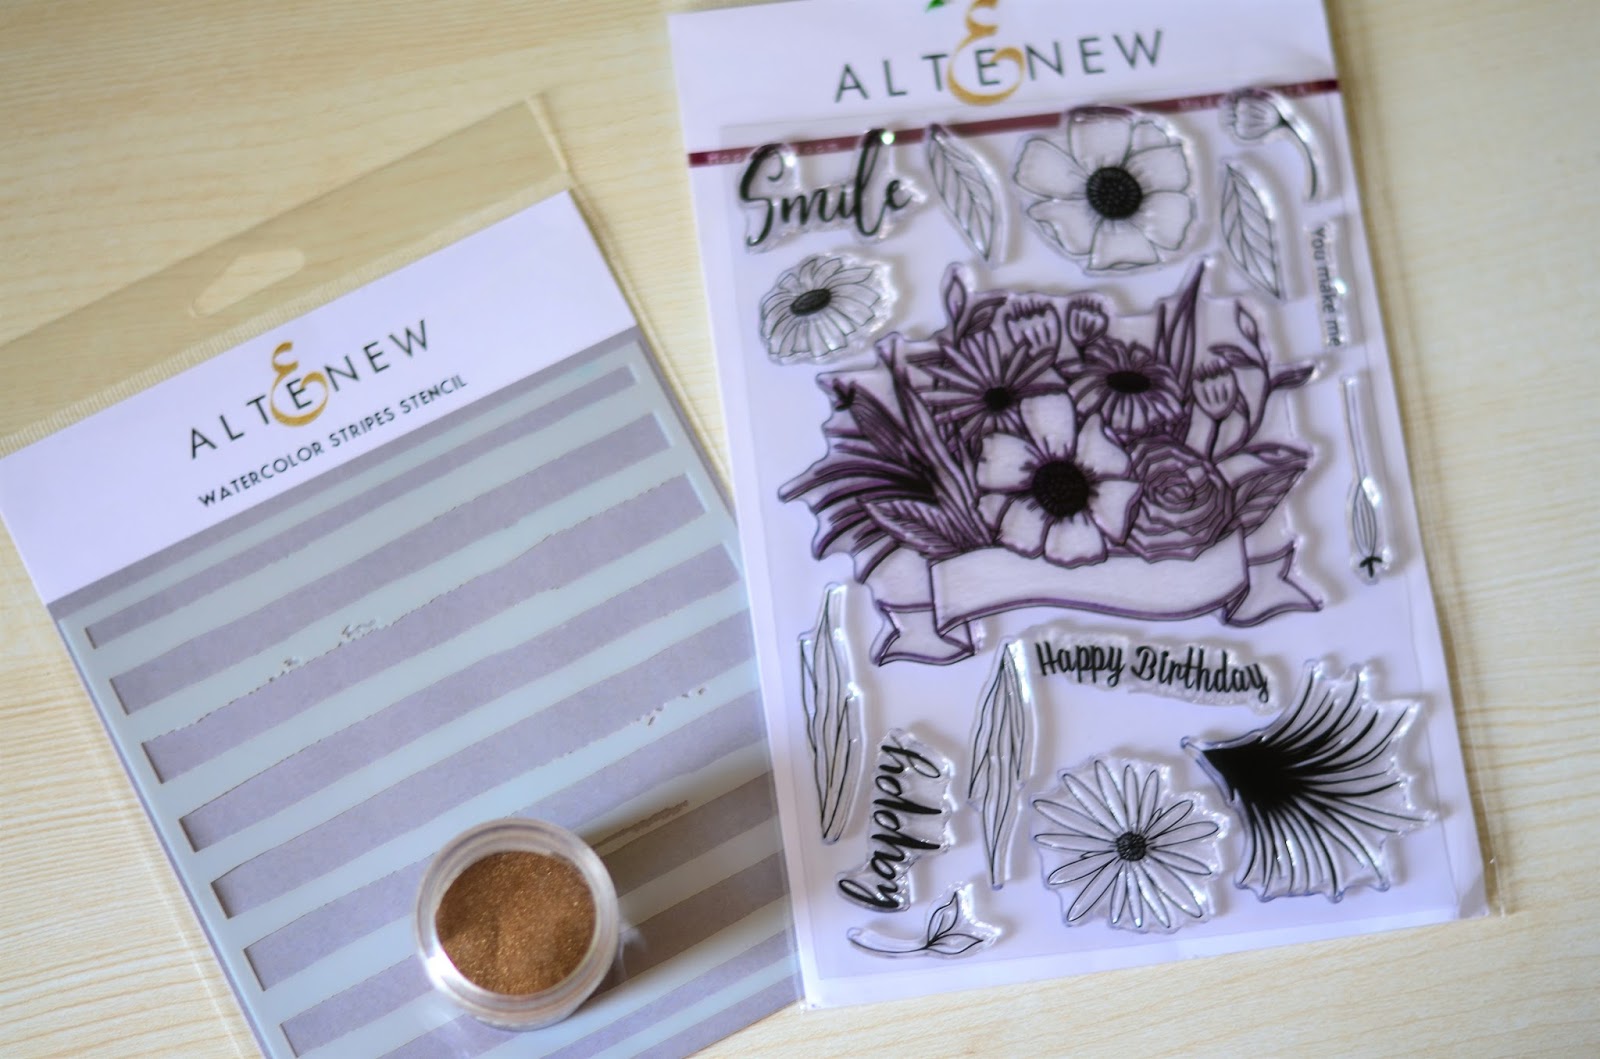
It was majorly the colors which inspired me in this pic.Here is the products I used,Altenew Watercolor stripes stencil and Happy Bloom stamp set with Rangers gold embossing powder.


So firstly I used stencil with Distress inks to create my background with some black color splatters on top of it ,after that I heat embossed the stamped image on vellum sheet,attached that to the base and lastly added some coordinating cup sequins and water droplets...TaDAA...my card is ready in 25 minutes...yeah I call that quick😅😆.

Here is one more pic of the card in different setup


Joining following challenges with this quick card:


Hope You liked it too..Thanks for visiting!!

Anushree


Tuesday, 27 March 2018

Farm-tastic with MFT

Hello friends,

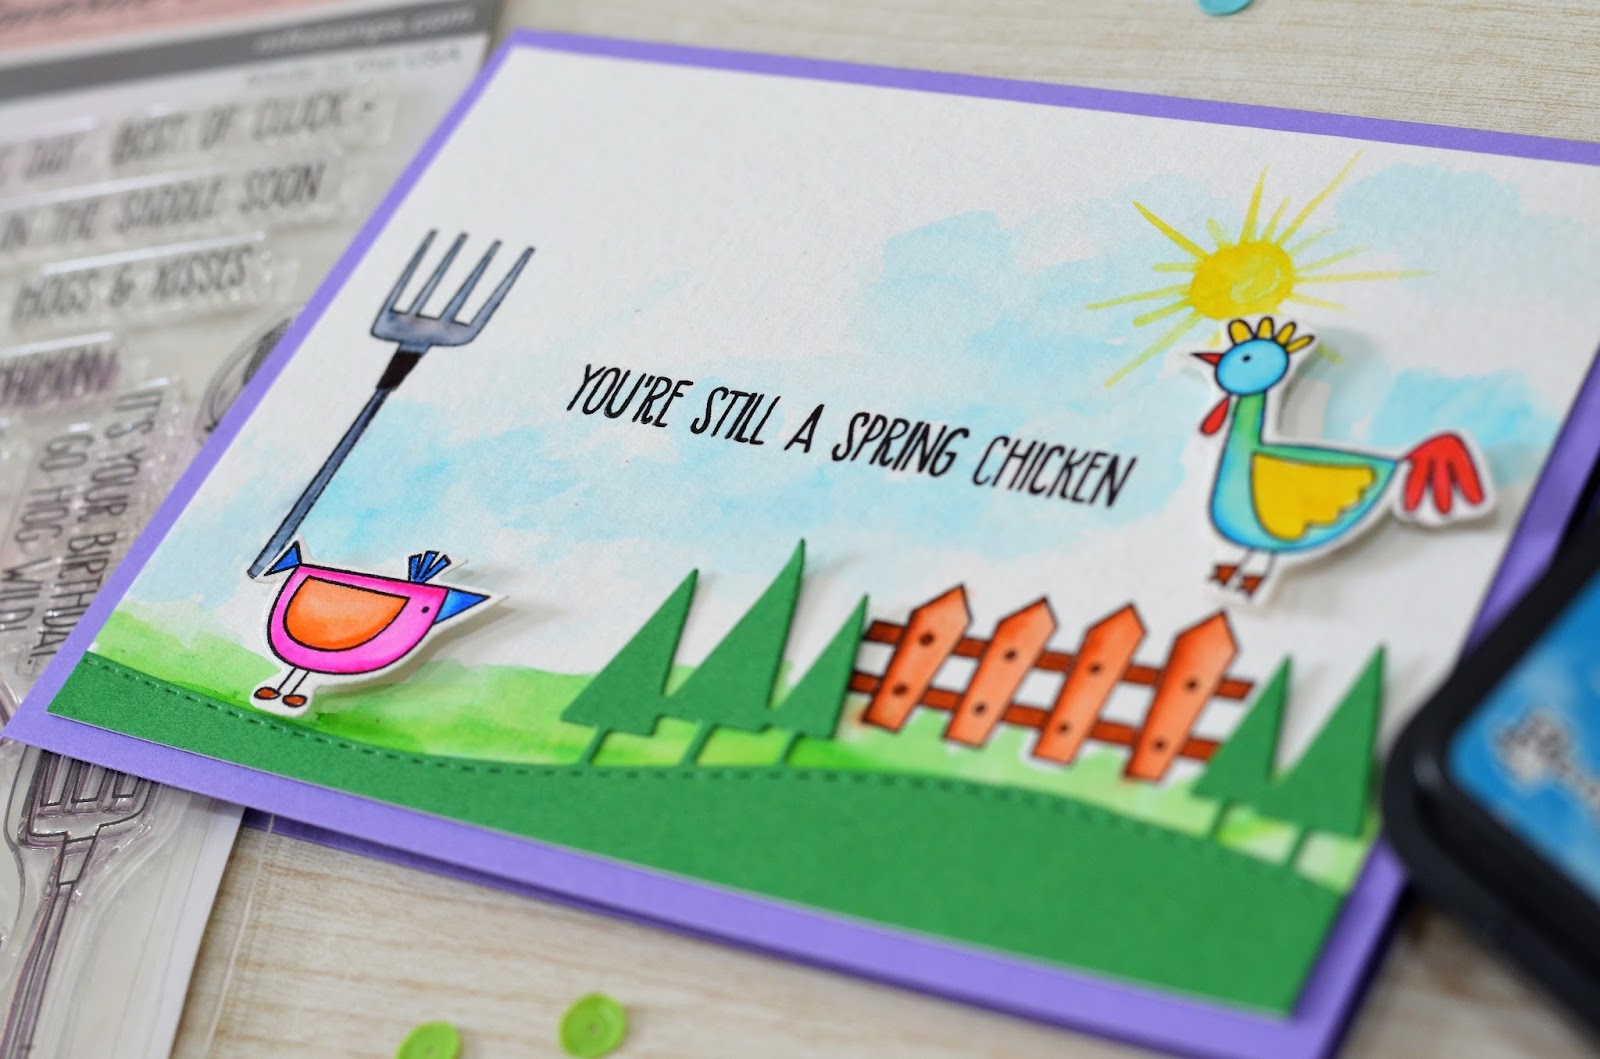
Today is a special post,I am playing along with my very first MFT stamp set....I have been always admiring the beautiful and adorable stamp designs released by MFT but somehow never got hold of them.....Finally Yayy...I am happy to showcase my card with these cute images from MFT,so let me show you all my card first.I have used FARM-TASTIC stamp set.


I have stamped images on watercolor paper with Black Archival ink and tried coloring them with distress inks this time...they turned out pretty good.Some images are stamped on separate paper, fussy cut and then adhered on the base with double sided foam tape.I have also used a Stitched Winter landscape die from CUTplorations.

My inspiration for this card came from the sketch provided by MFT for their Wednesday challenge,I am entering this to that challenge as well


Other challenges I am entering this card are as follows:


Hope you liked my colorful spring card.
Thanks for dropping by!!

Anushree


Thursday, 5 January 2017

Make A Wish

Yayyy!!! Second post for 2017 and that too so fast after first one...yes cant wait to craft..Heheehh...

So today I have a card with stencil techniques,Water coloring and some die cutting.Here's the picture


This Old Well Image is from beccysplace.com/

Instructions: 

I took white base card stock and did stenciling with distress ink.Then I took my image ,did fussy cut to it and painted with my Zig colors.After that i pasted it on the main base card stock.Next I used leaf dies and tried with some pattern paper,later stuck them to enhance 2D look.For sentiment ,I have again taken a die cut and stamped with archival ink.Lastly I attached a metal leaf embellishment with help of small thread.

Supplies used:

White card stock,Brick stencil from Crafters workshop  , Distress ink Vintage Photo, Zig colors, Clear glue,Pattern paper,Cheery Lyn Leaf flourish die, Spellbinders Tag die, Black Archival Ink, Sentiment from Penny black, Metal embellishment and thread from my stash

I have made this card as my First DT inspiration project for craftycreationschallenges.332-anything-goes Do have a look and don't forget to participate.

I am entering this card to following challenges:
3. PCC225


Have Fun.Enjoy Crafting.


Friday, 23 December 2016

Merry Christmas!!

Merry Christmas to all !! Today I am really happy with my post on craftsneedindia.blogspot.in . This is one of my favorite project.All details regarding clay sculptures are on the Craftsneed blog.Here i will tell more about my card i made along with the sculptures.Below is the picture of my full project


Attaching more images of the card now


Instructions:
On the white card stock ,I stuck corrugated brown paper and have put snowflake paste and diamond dust on top of it.I have colored the Digi stamp with Zig colors,fussy cut it and distressed from edges.Then took a Christmas tree Die cut and pasted on the corrugated.I have separately stamped the sentiment,distressed the edges and stuck on the base.

Supplies used:

Cardstock -- White,Red
Corrugated paper
Ranger's Snowflake paste
Spellbinders Christmas die
Pennyblack sentiment
Twinklets Diamond dust
Zig water color marker pens
Clear glue
Double sided tape

So my card is done,I am super happy and excited to share it with u all.This card is also my DT inspiration for giveacrafteracookie-challenge-59

Do visit both blogs and leave some love.

I am entering this card to following challenges:


Monday, 18 July 2016

Happy Birthday


Wonderful day to all and Happy Birthday To my friend NEHA,

Today's post is a simple and elegant happy birthday card , This one is filled with the colors of rainbow. Have a look at this beautiful card,below that i have mentioned the supplies i have used followed by the instructions.


Supplies used:

1) White cardstock
2) Alphabet dies
3) Birthday stamp from Bo Bunny
4) Butterfly stamp from Inkadinkado
5) Distress inks
6) Wink of stella silver glitter pen
7) Black archival ink
8) Purple pigment ink
9) Double sided dots
10) Masking tape

Instructions:

I took white base card and masked it with tape from all sides creating a rectangular box. After that started distressing from the left with first color of the rainbow VIOLET ,then followed by indigo,blue,green,yellow,orange and red. Then i removed the masking tape. Ends of both left and right have distressed with red color.I took another white cardstock with little smaller size than the main base card. I placed the alphabet dies and passed through my big shot. Then stamped birthday sentiment on the right corner with black archival ink  and butterfly stamp on right most top with purple pigment ink. Then i used double sided dots to give a lift to my cardstock with die cut. On the HAPPY portions ,rubbed a little wink of stella silver glitter brush.

And that completes my card for today.I am linking this card to following challenges

1. Paru's Card making challenges # Birthday . Wishing loads of happiness to both Neha(my friend) and Paru. I am participating in these challenges for the very first time.Hoping to have great time.


2. AAA Cards Challenge : Entering this challenge and wishing everybody loads of happiness. Have used my favorite die and stamp


Thanks
Anushree

Tuesday, 12 July 2016

Beautiful Mornings

Good morning friends,

I am here again with my new post,this time mixed media work on a notebook. I thoroughly enjoyed the making,the out come was beautiful. Have tried working both on front and back. This one will always be very close to my heart as all color selection is done by my daughter myra. Sharing the pictures below followed by supplies and instructions.


Supplies Used:

1) A hardcover notebook
2) Art basics modelling paste
3) Distress inks
4) Heidi swapp honeycomb stencil
5) Butterfly diecut from elizabeth crafts
6) Cycle diecut from dienamics
7) Pollens for flowers
8) Penny black heartfelt sentiment
9) Embellishment pearl stickons

Instructions:

I started with putting a layer of modelling paste on both front and back cover of the notebook.Once that layer dried,gave one more layer with honeycomb stencil on selected areas.
After that dried,started using different shades of distress inks colors being red,yellow,purple,pink,blue and green.Took a diecut of cycle and butterfly on a purple color cardstock. Then i started making flowers,the petals are handcut,distressed and put together with pollens to finish making the flower. also took out a butterfly diecut on vellum sheet for back cover. After all this started arranging them on the front cover first,once finished with cycle,flowers and butterfly sticking,I stamped the sentiment with black archival ink. attached the stick ons my front cover is done.

Then i started with back cover,my honeycomb stencil effect has come out nice on the back as well,Again distressed the portions,stamped the sentiment and stuck the pretty vellum butterfly.The stamped flowers are also from the same stamp set. Have put little white modelling paste on the top and back vertically for touchups.

Hope u have enjoyed the making.Do leave your comments below.See you soon with some new and exciting projects.

Thanks
Anushree